Internal Beas Web server only works with HTTP protocol and by default it does not support HTTPS connections. To solve this limitation, you can add a simple configuration by using XAMPP software as a proxy.
Follow the steps below:
1. Install XAMPP (the latest version)
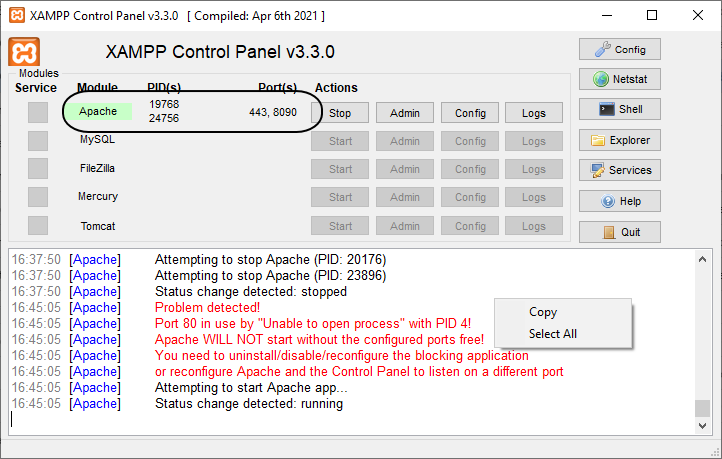
2. After installation, the first step is to validate that the server is up and running without any problems:

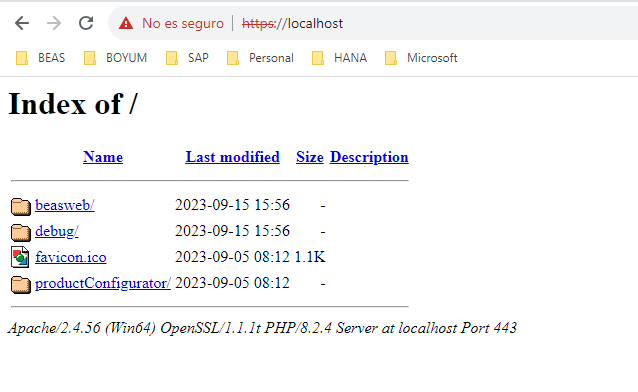
3. Verify that localhost is working properly:

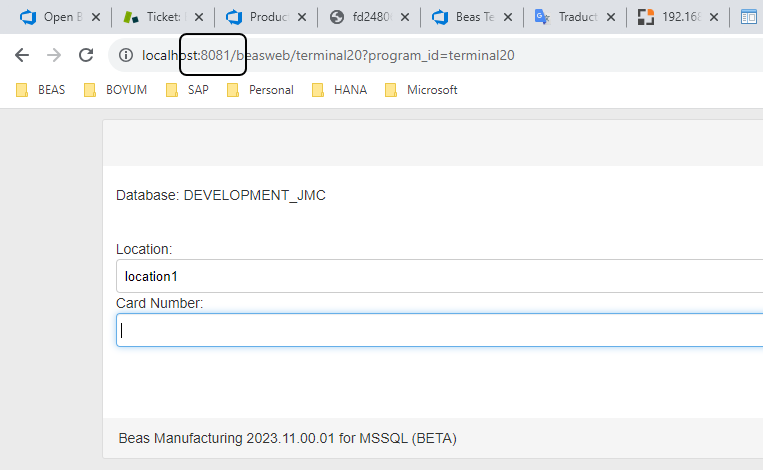
4. After validating that XAMPP is installed and running, start the Beas Web Server and check the port if Beas is working. (In this example below it is configured as port 8081)

5. Start the configuration of XAMPP to redirect requests to Beas Web.
6. Modify httpd.conf to uncomment the following text: ule proxy_http_m
#LoadModule proxy_html_module modules/mod_proxy_html.so
LoadModule proxy_http_module modules/mod_proxy_http.so
#LoadModule proxy_http2_module modules/mod_proxy_http2.so
7. Start/Stop XAMPP to reload configuration.
8. Modify httpd-ssl.conf to add the rule in the system to redirect incoming requests from XAMPP to BeasWeb.
9. Add the following lines before the end of the file (port should be the port where Beas is running):
ProxyPass / http://localhost:8081/
ProxyPassReverse / http://localhost:8081/
</VirtualHost>
10. Start/Stop XAMPP to reload the modified configuration.
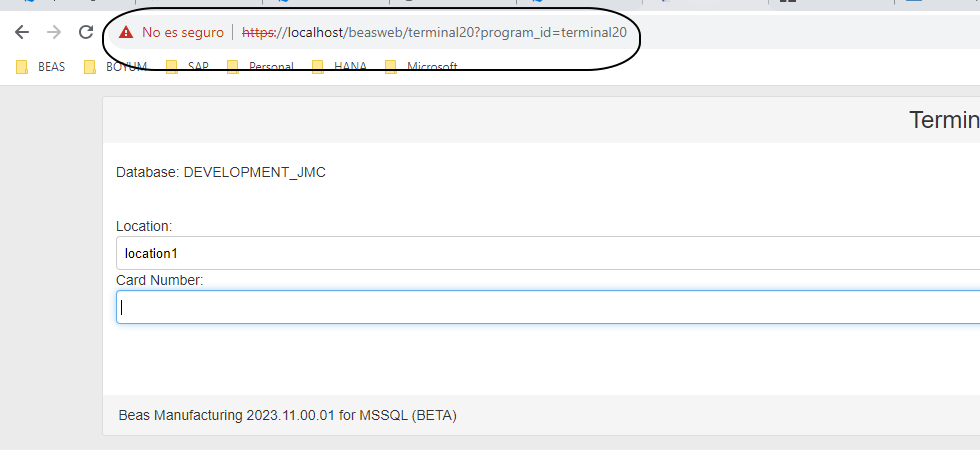
11. Load Beas via HTTPS, and everything should be operating properly:

OPTIONAL:
You we can also get the advantages of XAMPP to load some static information like icons from Beas in parallel mode.
To configure this you have to:
1. Modify variable "DocumentRoot" defined in file "httpd-ssl.conf" to determine the path where the system is going to load static resources. The Web server should have access to the defined folder.
DocumentRoot "c:/program files/beas software/beas/httpserver"
2. Add the ProxyPass lines to redirect the requests to the correct places:
ProxyPass "/beasweb/assets21" !
ProxyPassReverse "/beasweb/assets21" !
ProxyPass "/beasweb/static" !
ProxyPassReverse "/beasweb/static" !
3. Stop/Start XAMPP to reload the modified configuration.
4. Reload the Beas web page through HTTPS.